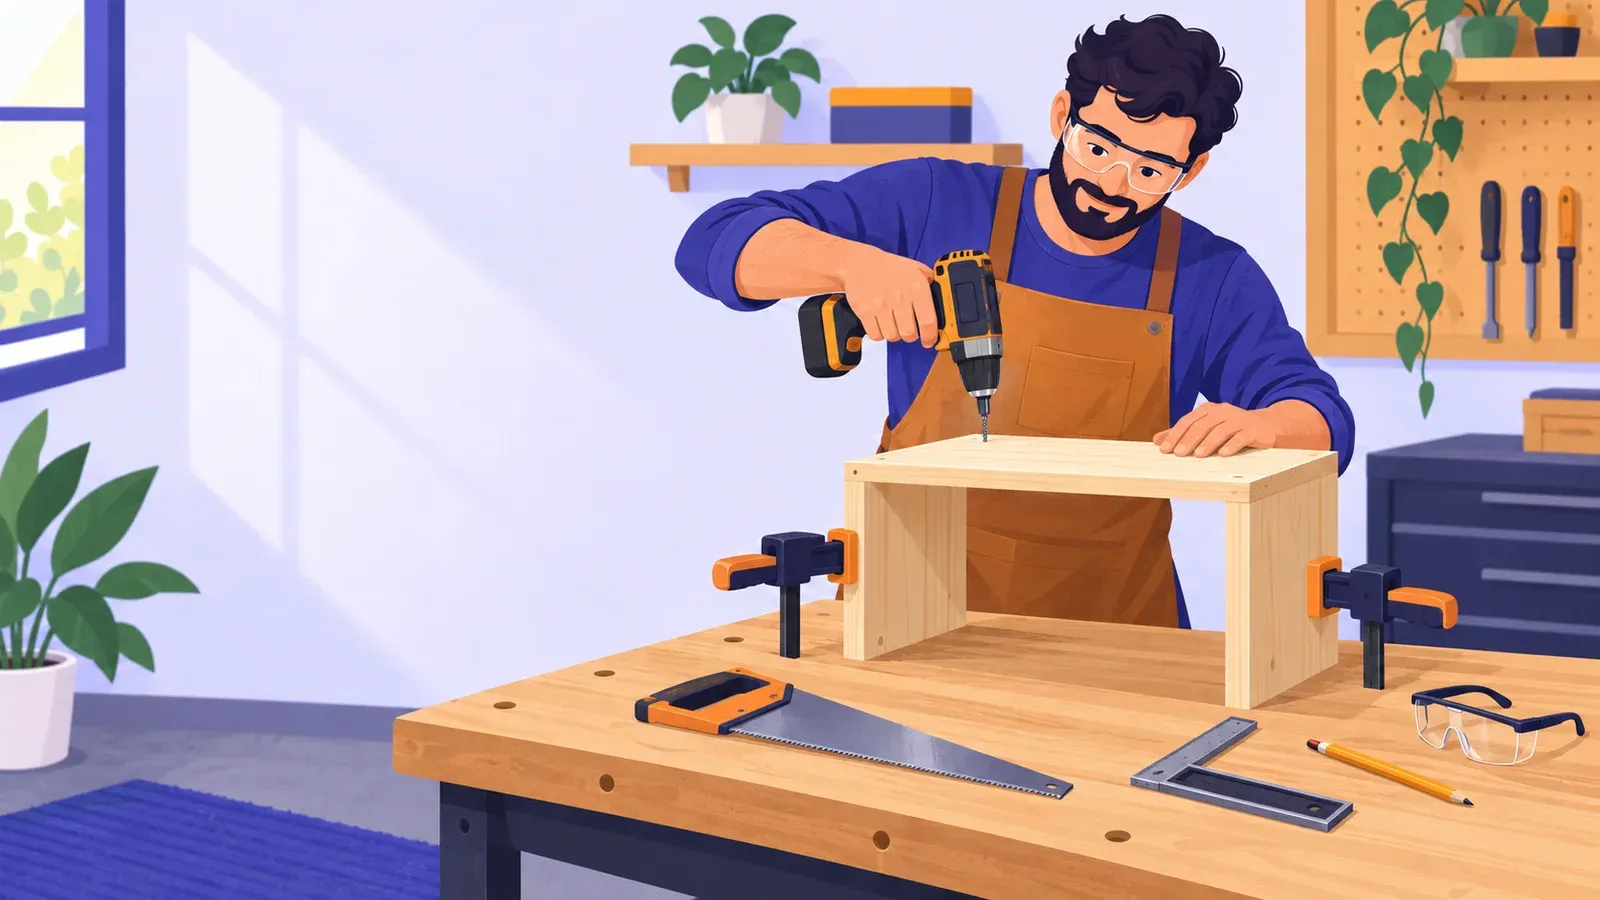
How to start woodworking with a three-board desktop shelf
- Cost to start
- ~$25–100
- Difficulty
- Beginner
- First result
- One weekend
Less with borrowed tools; materials and consumables vary locally
Straight cuts and careful alignment matter more than speed
A compact freestanding shelf for light objects
Learn to measure, hand-saw, drill, and assemble a compact wooden shelf in one weekend, with a small tool kit and a safe first-workshop routine.
What you need to know
-
Make one small, freestanding object
A three-board desktop shelf teaches marking, square cuts, pilot holes, and assembly without wall fixings, complicated joints, or a large workshop.
-
Borrow the expensive tools first
You need a suitable handsaw, drill, square, two clamps, eye protection, and a stable bench. A tool library, makerspace, or friend may have most of them.
-
Clamp before every cut or hole
The bench and clamps hold the work so both hands can control the tool. Never hold a small board in one hand while drilling it with the other.
-
Let the material set the final size
Start with one straight board and cut a top plus two equal sides. Exact dimensions matter less than square ends, matched sides, and stable assembly.
-
Check the result before finishing it
Set the shelf on a flat surface, look for rocking and gaps, and test it first with light objects. Paint or finish is optional after the build is sound.
Choose a project that fits one board
Buy a straight, dry softwood board or edge-glued panel roughly 18 mm (3/4 in) thick and 180–220 mm (7–9 in) wide. A piece about 1 m (40 in) long is ample.
Mark and hand-saw three square pieces
Choose one straight board end as your reference. Measure the top length from it, make a small tick, then place the square against the same long edge and draw a line across the face. Mark a clear X on the waste side.
Check the build before adding a finish
Place the shelf on a known flat surface. Press gently at each corner. It should not rack sideways, and both sides should contact the surface. Check the inside corners with the square and look for gaps where the top meets the sides.
Repeat the process with one new skill
Write down the board thickness, finished dimensions, screw size, and one adjustment you would make.

Safe first-tool references
- CCOHS hand-saw safety guideCovers saw selection, eye protection, checking wood for hidden metal, starting a cut slowly, and supporting the work securely.
- CCOHS powered-drill safety guideExplains bit selection, safe drilling posture, pilot holes, and why small workpieces must be clamped instead of held by hand.
- HSE guide to controlling wood dustA workplace-focused reference that explains why dust should be captured at its source and why dry sweeping or compressed air can spread it.