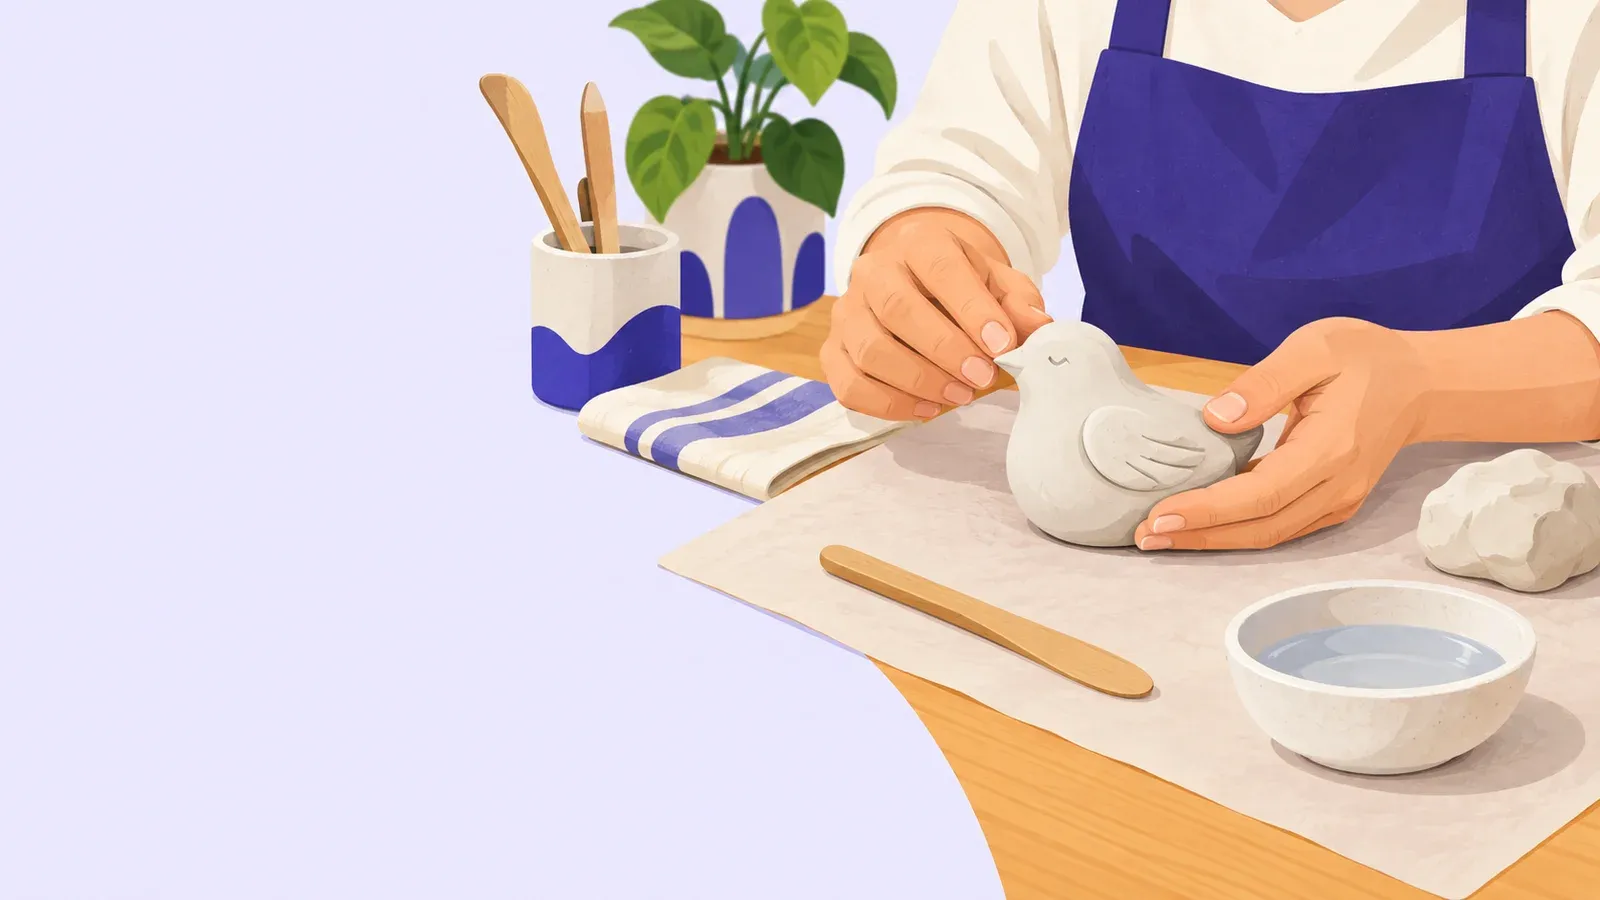
How to start sculpting with a small clay bird
- Cost to start
- Price one small pack locally
- Difficulty
- Beginner
- First result
- 45-60 minutes, plus drying
Reuse a board, cloth, and water dish; paint is optional
Shaping a recognizable outline takes several adjustments
A small bird ready to dry; hardening takes longer than the session
Shape a small air-dry clay bird at your table, learn to check its silhouette and repair joins, then leave it to dry before adding paint.
What you need to know
-
Choose air-dry modeling clay
Buy one small pack and read its label; reusable oil-based clay and oven-bake polymer clay behave differently.
-
Protect the table
Use a washable mat or lined board, a damp cloth, and an airtight container for unused clay.
-
Keep tools simple
Fingers, a rounded wooden modeling stick, and a small water dish are enough; postpone blades and powered tools.
-
Pick a sturdy subject
Use a bird photo with a clear side view; plan a rounded body, short beak, and flat base without separate legs.
Sculpting suits anyone who enjoys adjusting shapes by hand. Start with a bird small enough to hold comfortably, keeping its body compact.
Shape the outline before adding detail
Take a small lump and close the pack. Knead until workable, then roll an oval between your palms. Press it lightly onto the board to make a stable base. Gently squeeze one end upward for the head and pinch a short beak from that same piece.
Turn the board after each adjustment. Compare the front and side views with your reference. If the head leans or the base rocks, correct the main shape now. A few shallow wing lines can come later.
Smooth rough patches with a barely damp fingertip. Stop adding water if the surface turns slippery or the shape slumps.
Join pieces without leaving a weak seam
If you add a small tail, roughen both contact surfaces, moisten them sparingly, and press them together. Blend the seam with the rounded tool. The Crayola instructions show this joining method. Keep projections short and thick; thin tips break easily.
Dry, inspect, and try again
Leave the bird on its protected board and follow the clay label. Crayola’s drying guidance gives about 24 hours to become touch-dry and 72 hours to dry completely, with size and conditions affecting that estimate. Wait until fully dry before painting. Air-dry clay needs no oven or kiln.
For cracks, try a little wet clay and smooth it gently; Crayola cautions that repair success varies. Keep the finished ornament away from food and liquids. Wipe up clay while damp and wash your hands.
Photograph both views. Make a second bird with one deliberate change, such as a rounder chest or smaller head, before attempting a larger figure.

