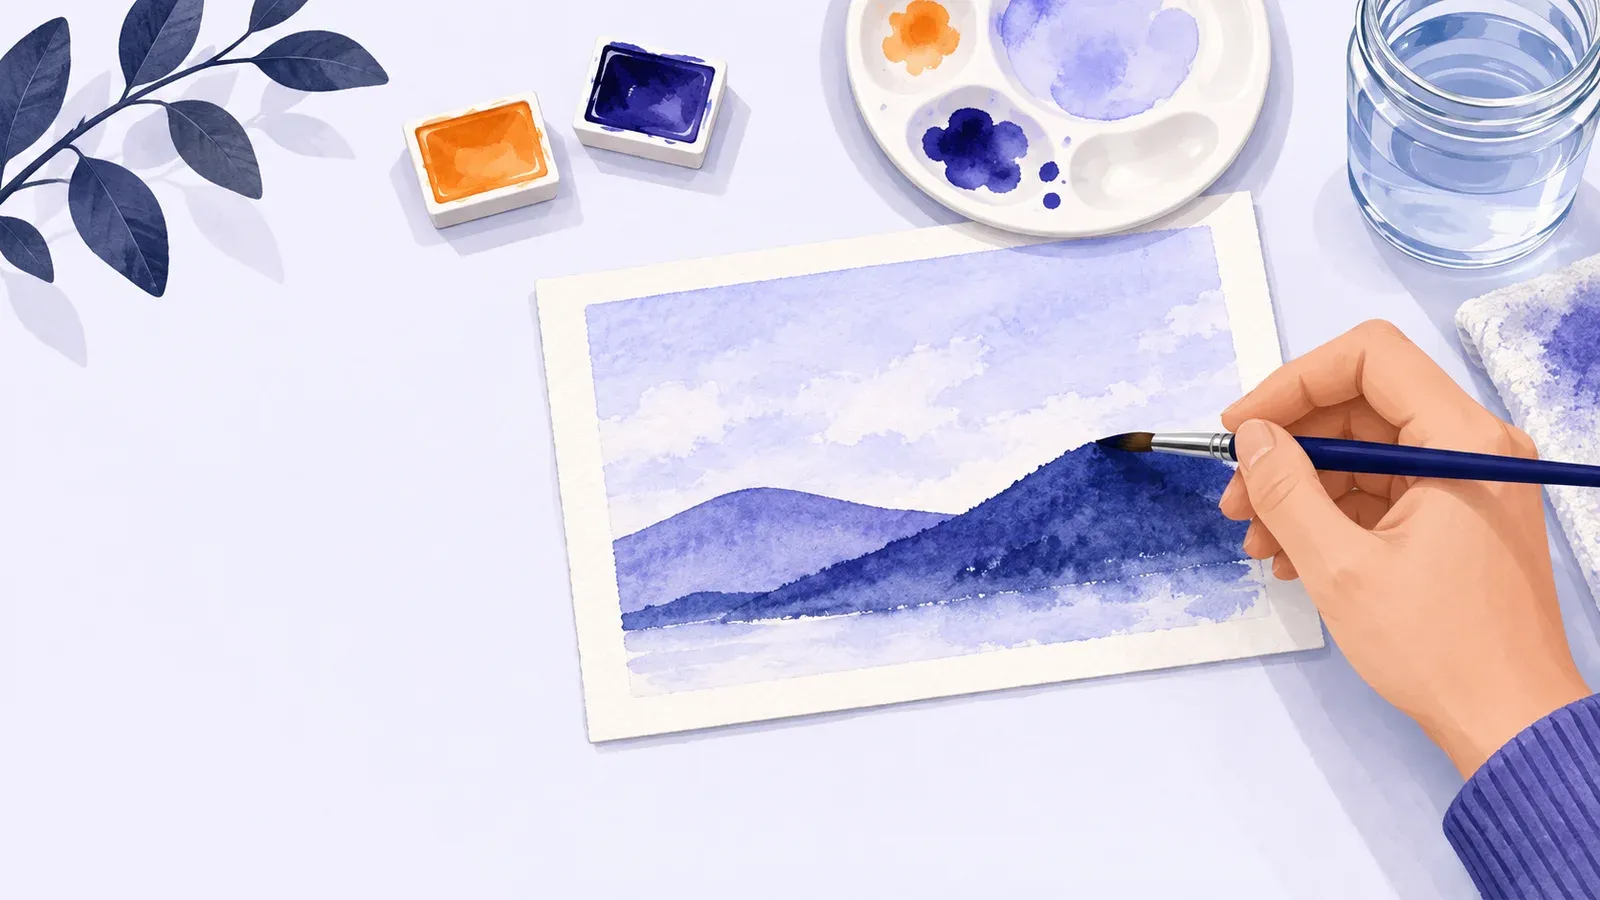
How to start painting with a small watercolor landscape
- Cost to start
- Plan up to US$30
- Difficulty
- Beginner
- First result
- 45-90 minutes
Supply budget for paper, a small paint set, and one brush
Water control takes practice; keep the first painting small
A postcard-size landscape, including time for layers to dry
Paint a simple sky and two hills with one watercolor, learn when to let a layer dry, and practice controlling the water in your brush.
What you need to know
-
Use watercolor paper
Start with a postcard-size sheet of cold-pressed watercolor paper around 300 gsm, plus a scrap for testing; ordinary printer paper buckles easily.
-
Keep the paint choice small
One blue from a student watercolor set is enough for this exercise, with a medium round synthetic brush and a mixing palette.
-
Set up water and a cloth
Use a stable rinse jar and cloth for blotting the brush; keep drinking cups separate and follow the paint label's handling instructions.
-
Protect the table
Work on a washable board, with low-tack tape around the paper edges if needed; test the tape on a scrap before use.
Watercolor suits a small workspace and anyone curious about how wet color spreads. For a first painting, use one blue to make a pale sky, a medium hill, and a darker hill in front. Changing the amount of water gives you the different shades.
Test the brush, then paint the sky
Mix a small puddle of blue with water on the palette. Try a stroke on scrap paper, then add water and make a paler stroke beside it. Rinse and blot the brush before returning to the paint so you do not keep diluting the mixture accidentally.
Lightly wet the upper part of your sheet with clean water. Aim for an even sheen without puddles. Brush the pale blue across this damp area and leave some paper white for clouds. Stop while the wash is still simple. The beginner video series demonstrates how paint spreads on damp paper and holds sharper edges on dry paper.
Build the hills on dry layers
Let the sky dry completely. Mix a stronger blue, draw a low curved hill across the lower half with the brush, and fill down to the bottom edge. Keep the brush moving through the wet shape instead of repeatedly brushing areas that have started drying.
After this layer dries, use less water in the blue mixture to paint a smaller, darker hill in front. Leave part of the first hill visible. You now have overlapping shapes with different lightness, even without drawing details.
Handle puddles and uneven edges
For a puddle, rinse the brush, blot it, and touch its tip to the excess water to lift it. If an edge feathers when you wanted it sharp, the paper was still damp. Let it dry before trying another shape.
Avoid scrubbing a drying wash; repeated corrections can disturb the paint and paper. Keep an unexpected mark and finish the exercise. Once dry, remove any tape slowly and rinse the brush.
Paint the same scene again on another small sheet, changing only how wet the sky is. Compare the dried edges before adding more colors or detail.
