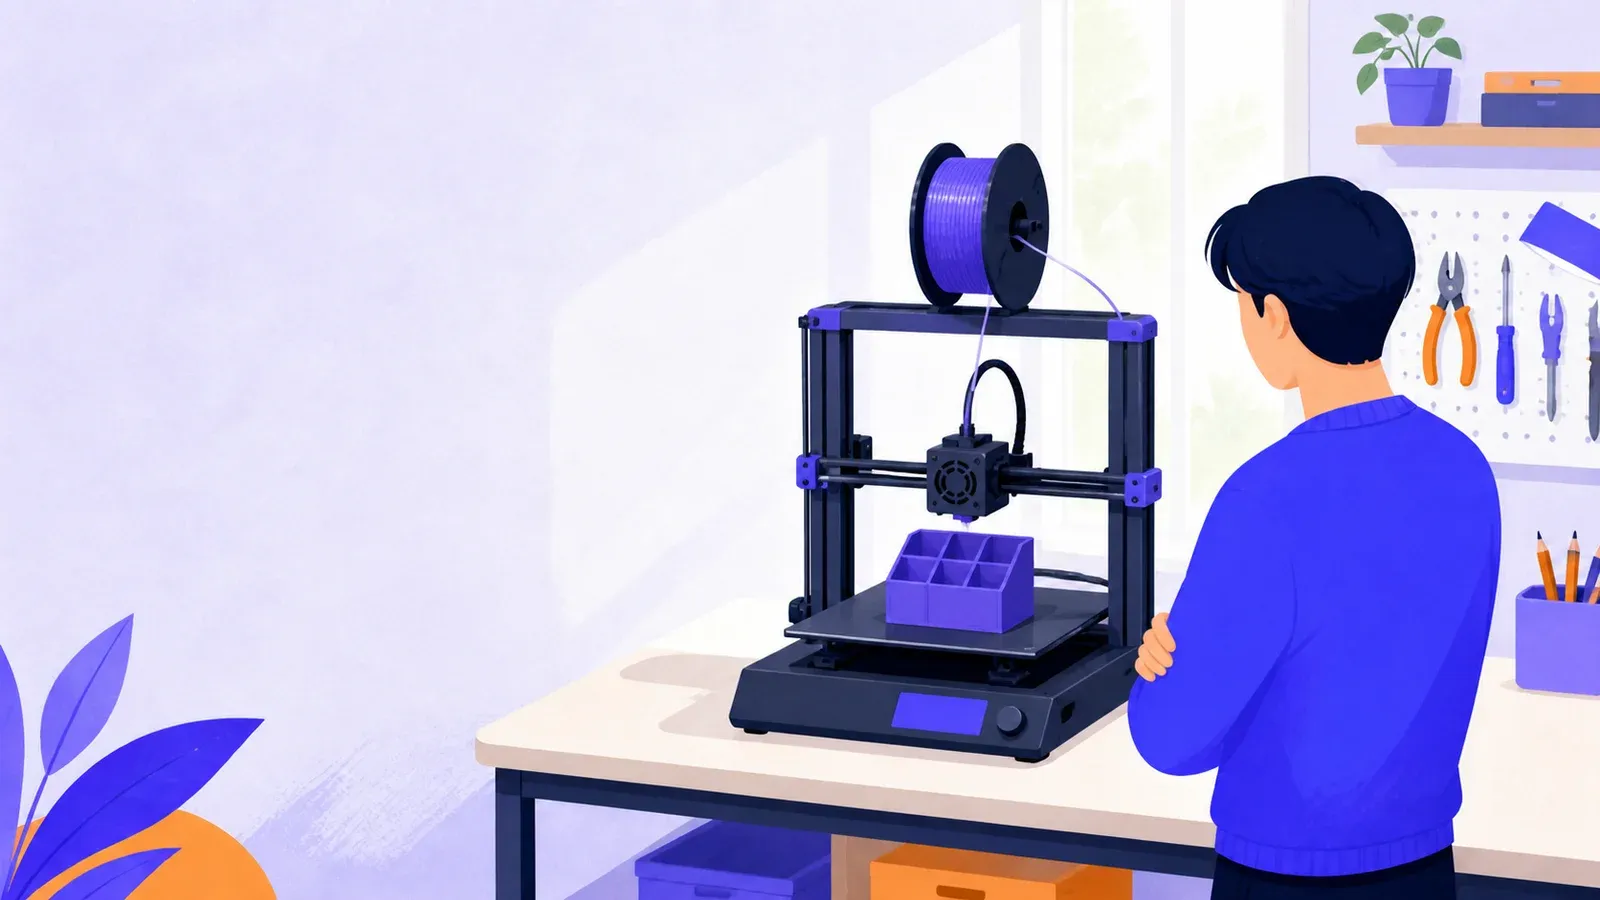
How to start 3D printing with a reliable first print
- Cost to start
- ~$300
- Difficulty
- Beginner
- First result
- 2-4 hours
Printer, PLA, basic hand tools
Presets simplify the first setup
A small finished PLA object
Learn the filament-printing workflow, set up a safer workspace, and turn a simple digital model into a useful first object without endless upgrades.
What you need to know
-
Start with filament printing and plain PLA
A spool-fed FFF/FDM printer avoids the gloves, washing, curing and chemical-waste workflow that liquid resin requires.
-
Put the printer in a ventilated working area
Desktop printers can emit ultrafine particles and gases. Follow the manufacturer's safeguards and keep the machine away from sleeping spaces.
-
Use the exact printer and material presets
Slice a model for your machine, nozzle and PLA profile. Never run unknown G-code prepared for somebody else's printer.
-
Watch the whole first layer
Smooth, touching lines form the foundation of the print. Stop early if filament drags, bunches around the nozzle or fails to stay on the plate.
-
Change only one setting at a time
Return to a known default, record the symptom, make one justified adjustment and print a small test before changing anything else.
Try the workflow before buying a printer
A library, school lab, community workshop or makerspace is an excellent first stop. You can see the space, noise and time a printer needs while an experienced person checks your file.
Prepare a safer, simpler workspace
Set the printer on a stable surface with the clearances its manual specifies. The hot end can exceed 200 degrees Celsius, the bed may be hot enough to burn, and axes move without noticing fingers, hair or loose sleeves.
Learn the model-to-print workflow
A printable mesh file, commonly STL or 3MF, describes geometry; it does not normally tell the printer how to move. Slicer software places that geometry on a virtual plate and calculates layers, walls, infill, supports, temperatures and toolpaths.
Complete and check the first print
Load PLA, run the maker’s calibration, prepare the build surface exactly as its manual says, and start the supplied sample for your machine. Watch the entire first layer. Stop if filament drags, gathers around the nozzle, or lifts. Let the plate cool before removing the object.

Safety, setup and design
- NIOSH safe 3D printing guideEvidence-based guidance on emissions, ventilation, enclosures and safer working practices for non-industrial printers.
- Prusa first-layer troubleshootingClear photographs and explanations for cleaning the plate, checking nozzle height and recognizing a sound first layer.
- UltiMaker CuraOfficial home of the free slicer, with downloads and support resources for a broad range of filament printers.
- Tinkercad learning centerShort guided lessons for making printable objects from simple shapes without learning professional CAD first.

Apps for your phone
-
Prusa
Browse Printables and monitor compatible Prusa machines; useful only if your printer belongs to that ecosystem.
 App Store
 Google Play